It is an easy and affordable way to protect your home from the weather elements while enhancing its appearance. The task may seem difficult, but with the right materials and techniques, you can create a professional-looking result. This comprehensive guide will help you complete your DIY exterior paint project.
What is Exterior Painting?
The exterior of a building or home is painted with paint or protective coatings. This process includes exterior walls, trims, doors, windows and other outdoor elements. The main goals of this process are to improve the appearance of the home and protect it from weather-related damage. The exterior colour of your home can have a dramatic impact on its curb appeal.
Exterior painters in Auckland Central are usually designed to be weather resistant and durable. They can withstand prolonged exposure to sun, rain, wind and other environmental elements.
You can enhance the beauty of your home for many years by choosing appealing colours and materials.
How to Distinguish Between Exterior and Interior Painting:
Exterior and interior painting are both included. Two distinct processes, each with its own requirements and methods. The primary objective of exterior painting is to protect the house from harsh weather conditions and UV rays. The exterior paint colour you choose will have a significant impact on the curb appeal of your home and its overall appearance. Exterior painting requires the use of weather-resistant and durable paints that can withstand varying conditions. To ensure a durable and long-lasting finish, it is important to perform thorough surface prep and repairs. Conversely, Interior painting is centered around craft. Focus on colours that complement the design scheme to create a warm and welcoming atmosphere.
Step 1: Surface preparation
- Check the Exterior: Carefully inspect your home’s outside for any damage such as peeling paint or cracks. Before you begin painting, make sure to address these problems.
- Cleaning: Scrub or pressure wash the exterior of your home to remove dust, mildew and mould. This step is essential for the adhesion of new paint.
- Repair: Fill in cracks, holes and dent with exterior grade fillers or a suitable patching compound. Be sure that all repairs are completely dry before painting.
- Scraping: Remove any flaking or peeling paint with a paint scraper. Sand rough areas to create a smooth surface.
- Primer: Apply an exterior primer of high quality over the entire surface. This not only improves paint adhesion, but also seals and prepares the surface for the topcoat.
Step 2: Plan the paint and choose the right color
- Types of Paint: Select exterior paint that is formulated to suit your climate and surface (e.g. wood, brick or vinyl). Choose durable, weather-resistant paints that can stand up to harsh conditions such as sun, rain and snow.
- Quality: Buy top-quality exterior paint for a durable and stable finish. Paints of higher quality have a better finish and last longer.
- Color Selection: Choose colors that complement the architectural style of your home and its surroundings. Test swatches of paint on your wall to see how the colours look under different lighting.
Step 3: Gather your Tools
Ensure you have the right tools and equipment.
- Ladders: Safe and sturdy ladders for high places.
- Drop Cloths: Protects landscaping and walkways against spills.
- Paint Brushes/Rollers: Suitable to exterior surfaces.
- Painter’s Tape: To cover areas that you do not want to paint.
- Caulk Gun: For sealing gaps.
- Safety Gear: Gloves, goggles and masks are recommended to protect you during the process.
- Sprayer: Optional. For large areas or smoother surfaces.
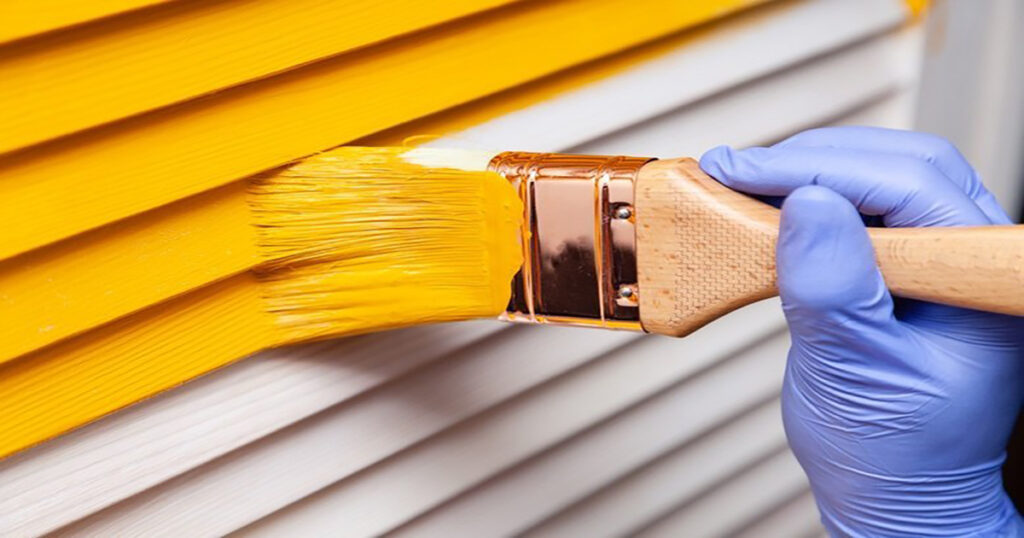
Step 4: The Painting Process
1. Application Techniques
- Paint from the Top: Work your way down, starting at the top. This will help you avoid drips.
- Divide surface into sections: Divide surfaces into manageable sections to make application easier.
- Smooth Strokes: Avoid brush marks by using smooth, uniform strokes. Consider using a combination of a roller and a brush to cover large areas.
2. Coverage
For even coverage, apply thin and consistent paint coats. As recommended by the manufacturer, allow sufficient drying time in between coats.
3. Avoid Inclement Weather
Paint not during high humidity, extreme heat, or rain. These conditions can affect the drying time and quality of paint.
Step 5: Cleaning and Maintenance
- Regular inspection: After painting your exterior, check for signs of damage or wear. Watch out for signs of peeling, blistering or cracking.
- Touch Ups: Quickly touch up minor scratches or chips to prevent further damage.
- Schedule for Repainting: Paint your home’s exterior at least every two years to protect it and maintain its appearance. The surface can be cleaned with mild detergents every year to remove dirt and dust.
Additional Tips
- Weather Conditions: Pick a day with mild temperatures and dry weather to paint.
- Safety first: Priorities safety by using the proper equipment and adhering to guidelines.
- Patience Is Key: Be patient with each step for a professional finish.
- Professional Assistance: Hire a professional painter if you have any questions or are having difficulty.
Follow these steps to achieve a stunning transformation for your home that will last many years. Take pride in the work you’ve done and enjoy the process.