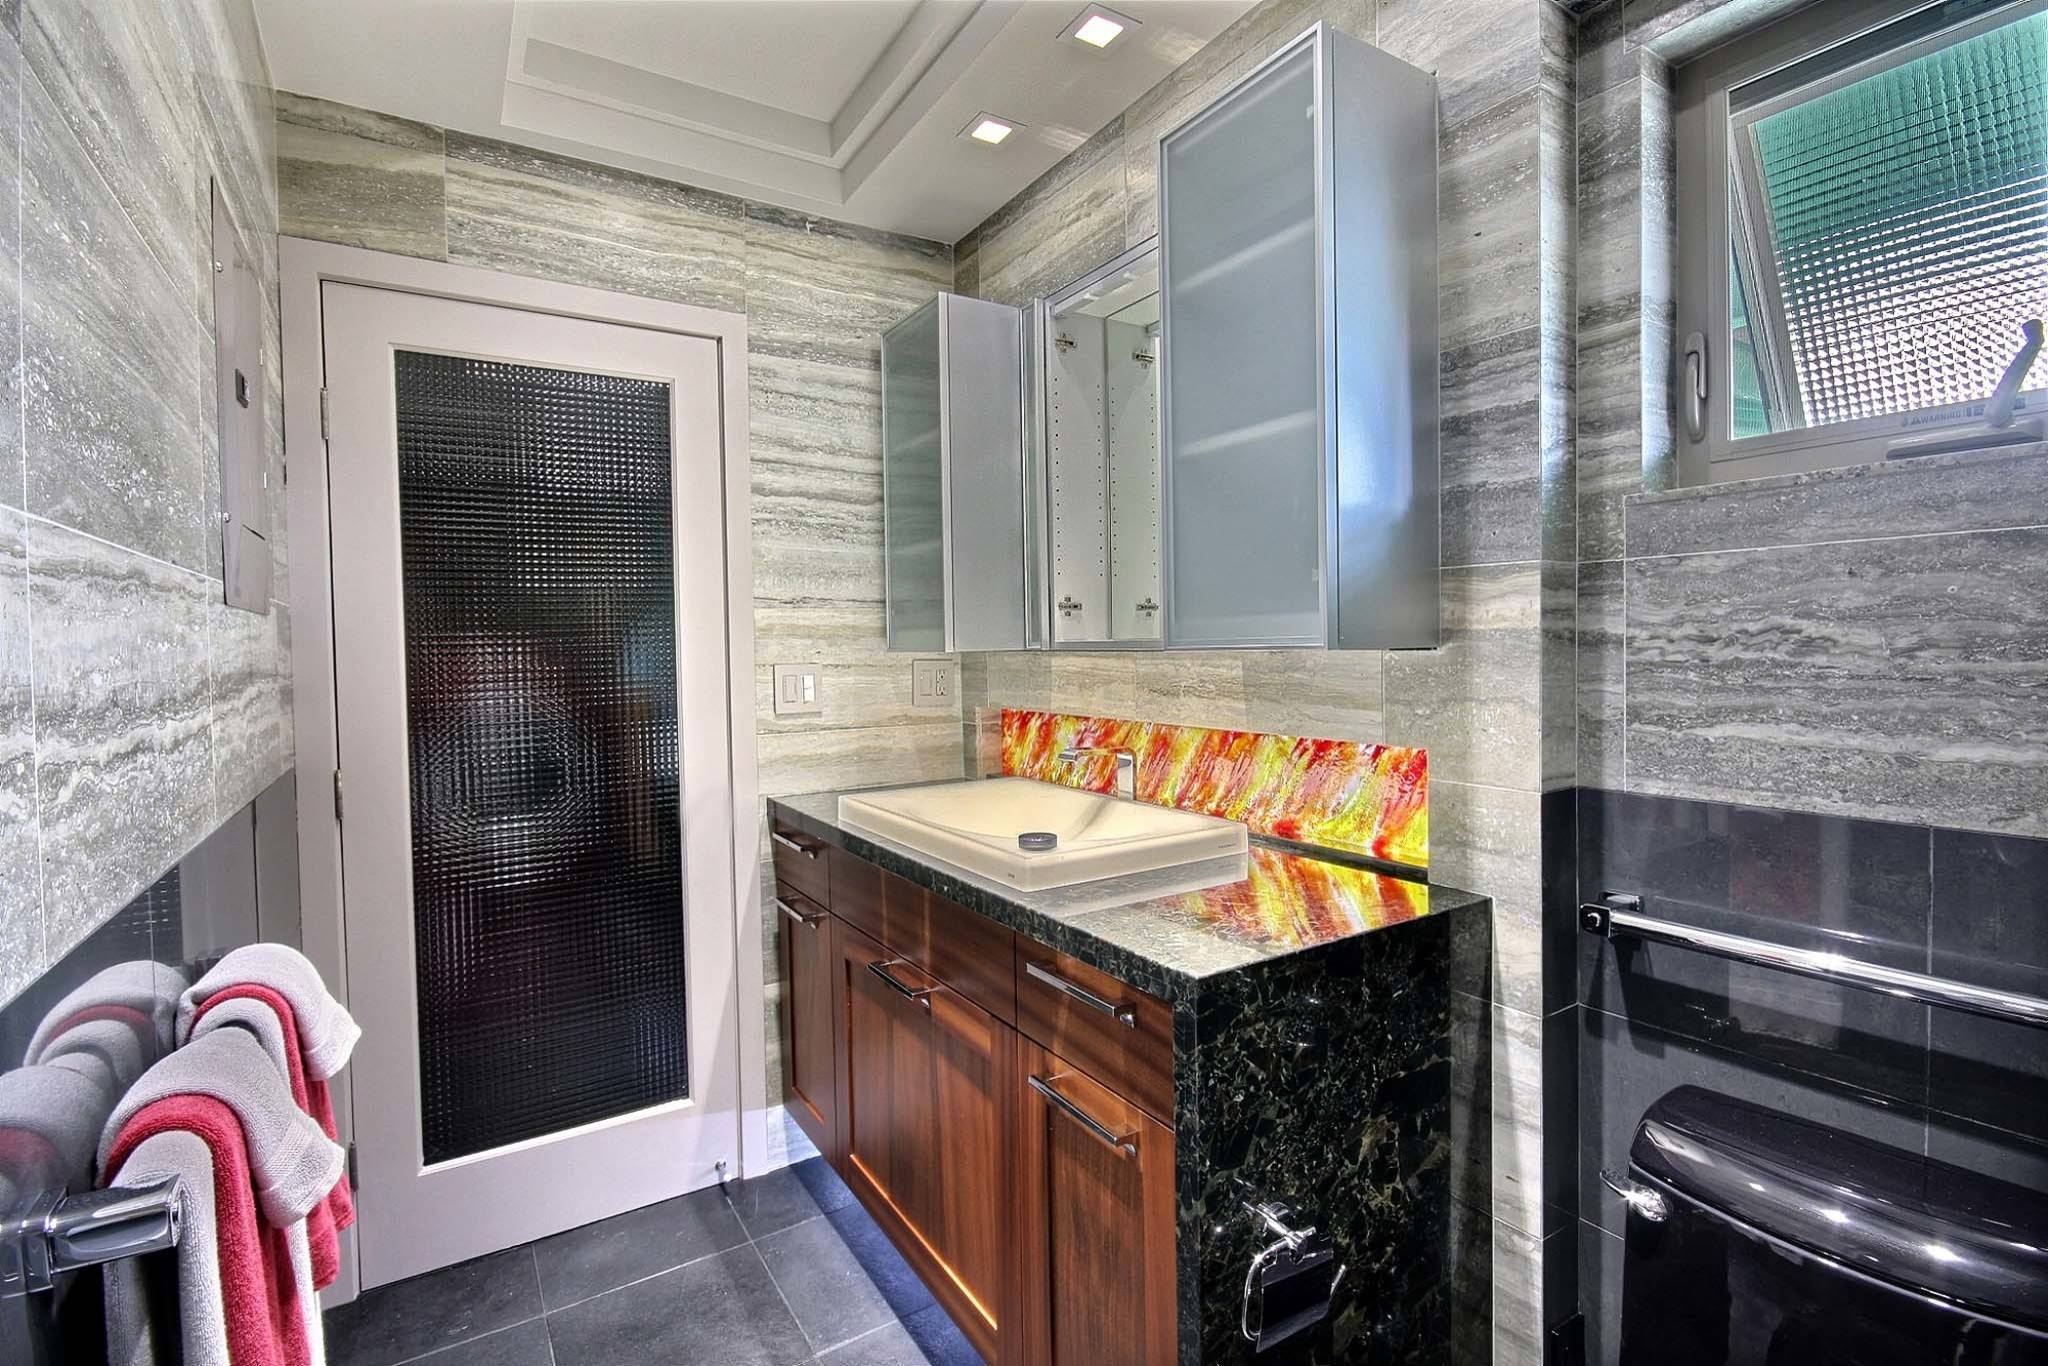
Recently, I tiled my entire bathroom by myself. It was a scary experience for me to tackle a tiling job without a professional tiler. It was easy to follow honest tiling suggestions for tiling the bathroom (which can be found at the end of this post). For my 10 top tips on how to tackle your bathroom tile project, I have taken professional advice, including insights from experts who offer tiling services in Auckland to ensure quality and precision.
1) Calculate the amount you require and add 10%.
You can use the honest tiling suggestion to calculate how many square meters you will need to tile a wall or floor. All tile product pages have a Tile Calculator. To allow for the cut pieces, add 10%. You won’t have to order more if you don’t buy enough. You can always return unopened boxes.
2) Plan ahead.
To avoid an unprofessional and messy finish, plan your tile rows carefully. Tile from the middle of a wall, floor or ceiling to ensure that all cut pieces are placed at the edges of the room and are of the same size. You will get a professional and symmetrical finish. Use a tile gauge to help you mark out your tile row. This is a piece of wood that has the tile length marked on it.
3) Add extra grip to surfaces that are slippery.
To avoid slipping, use tiles that have anti-slip properties beside showers and bathtubs. Choose from a wide range of non-slip tiles at Walls and Flooring. You can choose from stunning clay tiles to realistic tile effect to eye-catching and striking wood effect designs. You don’t need to worry about your family members climbing into and out of a shower or tub.
4) Check before you tile.
Check your tiles once they’ve been delivered! Don’t book a tiler until you’ve checked your order. Make sure that it meets your expectations. It’s a terrible feeling to fix a tile only to find out that it isn’t to your taste.
5) The good, the bad and the ugly.
If you are fixing natural products I suggest sorting them into three piles: the Good, Bad, and Ugly. Some tiles may have slightly unsightly markings or crevices due to the unpredictability of natural stone and cork. Choose which tiles you find Good, which you find Bad (but still acceptable) and which you find Ugly. Use the best in the most obvious places, like the middle of the space. Use the bad pieces on the walls of your room or around the sink and toilet. These pieces are good for cutting. You can chip away at the ugly pieces if you want to. If not, you can simply throw them away.
6) Prepare the surfaces.
Be sure that your surfaces are ready for tiling before you begin. Be sure that the wall or the floor will support the weight of the tile. You may need to plaster your wall if it is uneven. If your floor isn’t level, it may be necessary to use a screed or leveling compound.
7) Protect your hands.
This one is something I have learned first-hand. Rubber gloves are recommended to avoid irritated, dry skin on the hands when applying adhesives or grout. You can use marigolds in your kitchen cabinet!
8) Use grout and adhesive that are waterproof.
It’s essential to use water-resistant adhesive and grout when tiling surfaces that will be exposed to water, such as the walls next to your bathroom shower. It will keep moisture from soaking into the grout and tile. BAL CTF4 Tile adhesive is available from Walls and Flooring. It is water-resistant and suitable for walls and floors. BAL Superflex White Wide Joint Grout can be used on both floors and walls. It is also water-resistant. This grout is suitable for joints between 3mm to 20mm wide. This Ardex WP1 Shower Kit is the best option for tiling shower areas. This kit includes an acrylic-based flexible coat, polyester tapes, polyester matting, and acrylic primer.
9) Tiling the area around toilets and sinks.
You will eventually reach a toilet or sink when you tile your bathroom. Instead of trying to place your cut tiles first, tile up to the obstacles by using whole tiles. As many whole tiles as possible around the basin and toilet. Let them set before you start cutting. This will make it easier to correctly shape your pieces.
10) Dispose of your waste wisely.
If you have finished your tile project and there is a small amount of grout or adhesive left at the bottom of the bathtub, don’t flush it down the toilet or drain. You’ll have to call a plumber to fix the problem. Pour the liquid in a bag, and let it set. Once the liquid has hardened, it can be thrown away or disposed of as hardcore.